
AutoSign guide · Updated October 2, 2026
How to sign a PDF on iPhone
Create a signature, select a PDF, position your signature, and save the finished document with AutoSign. PDF signing requires Pro.
Before you begin
Save the PDF in Files so you can select it from the document picker. Download attachments or cloud files first. Signing PDFs requires AutoSign Pro. You can try signature generation with a limited free allowance; check the app for current subscription prices.
Get AutoSign ↗Step 1
Create a signature you want to use
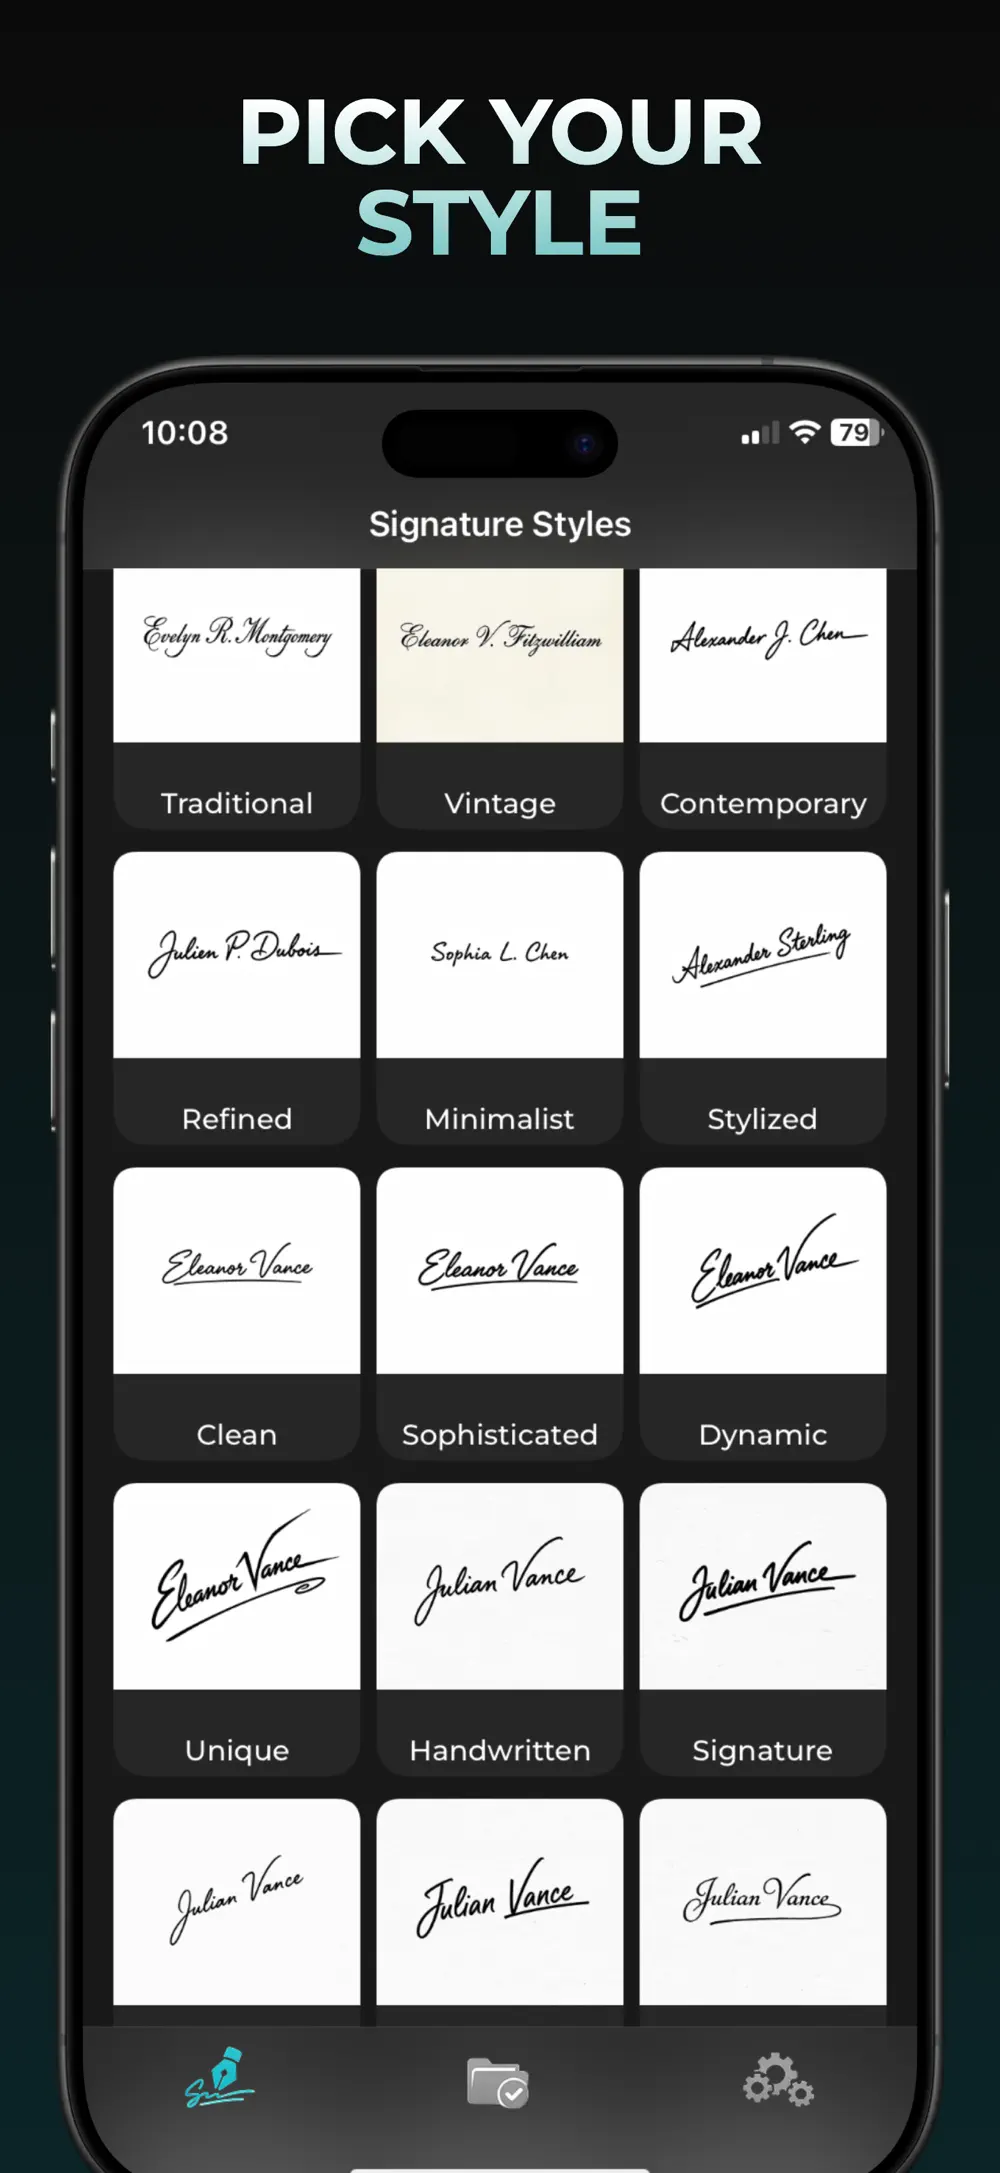
Open AutoSign and choose a signature style. Select Text to enter your name, or Hand Drawing to write on the canvas. Tap Generate, then check the spelling and shape of the result.
If you need help picking a design, read our guide to creating a signature from your name. Use a design that remains readable at the size of the document’s signature field.
Step 2
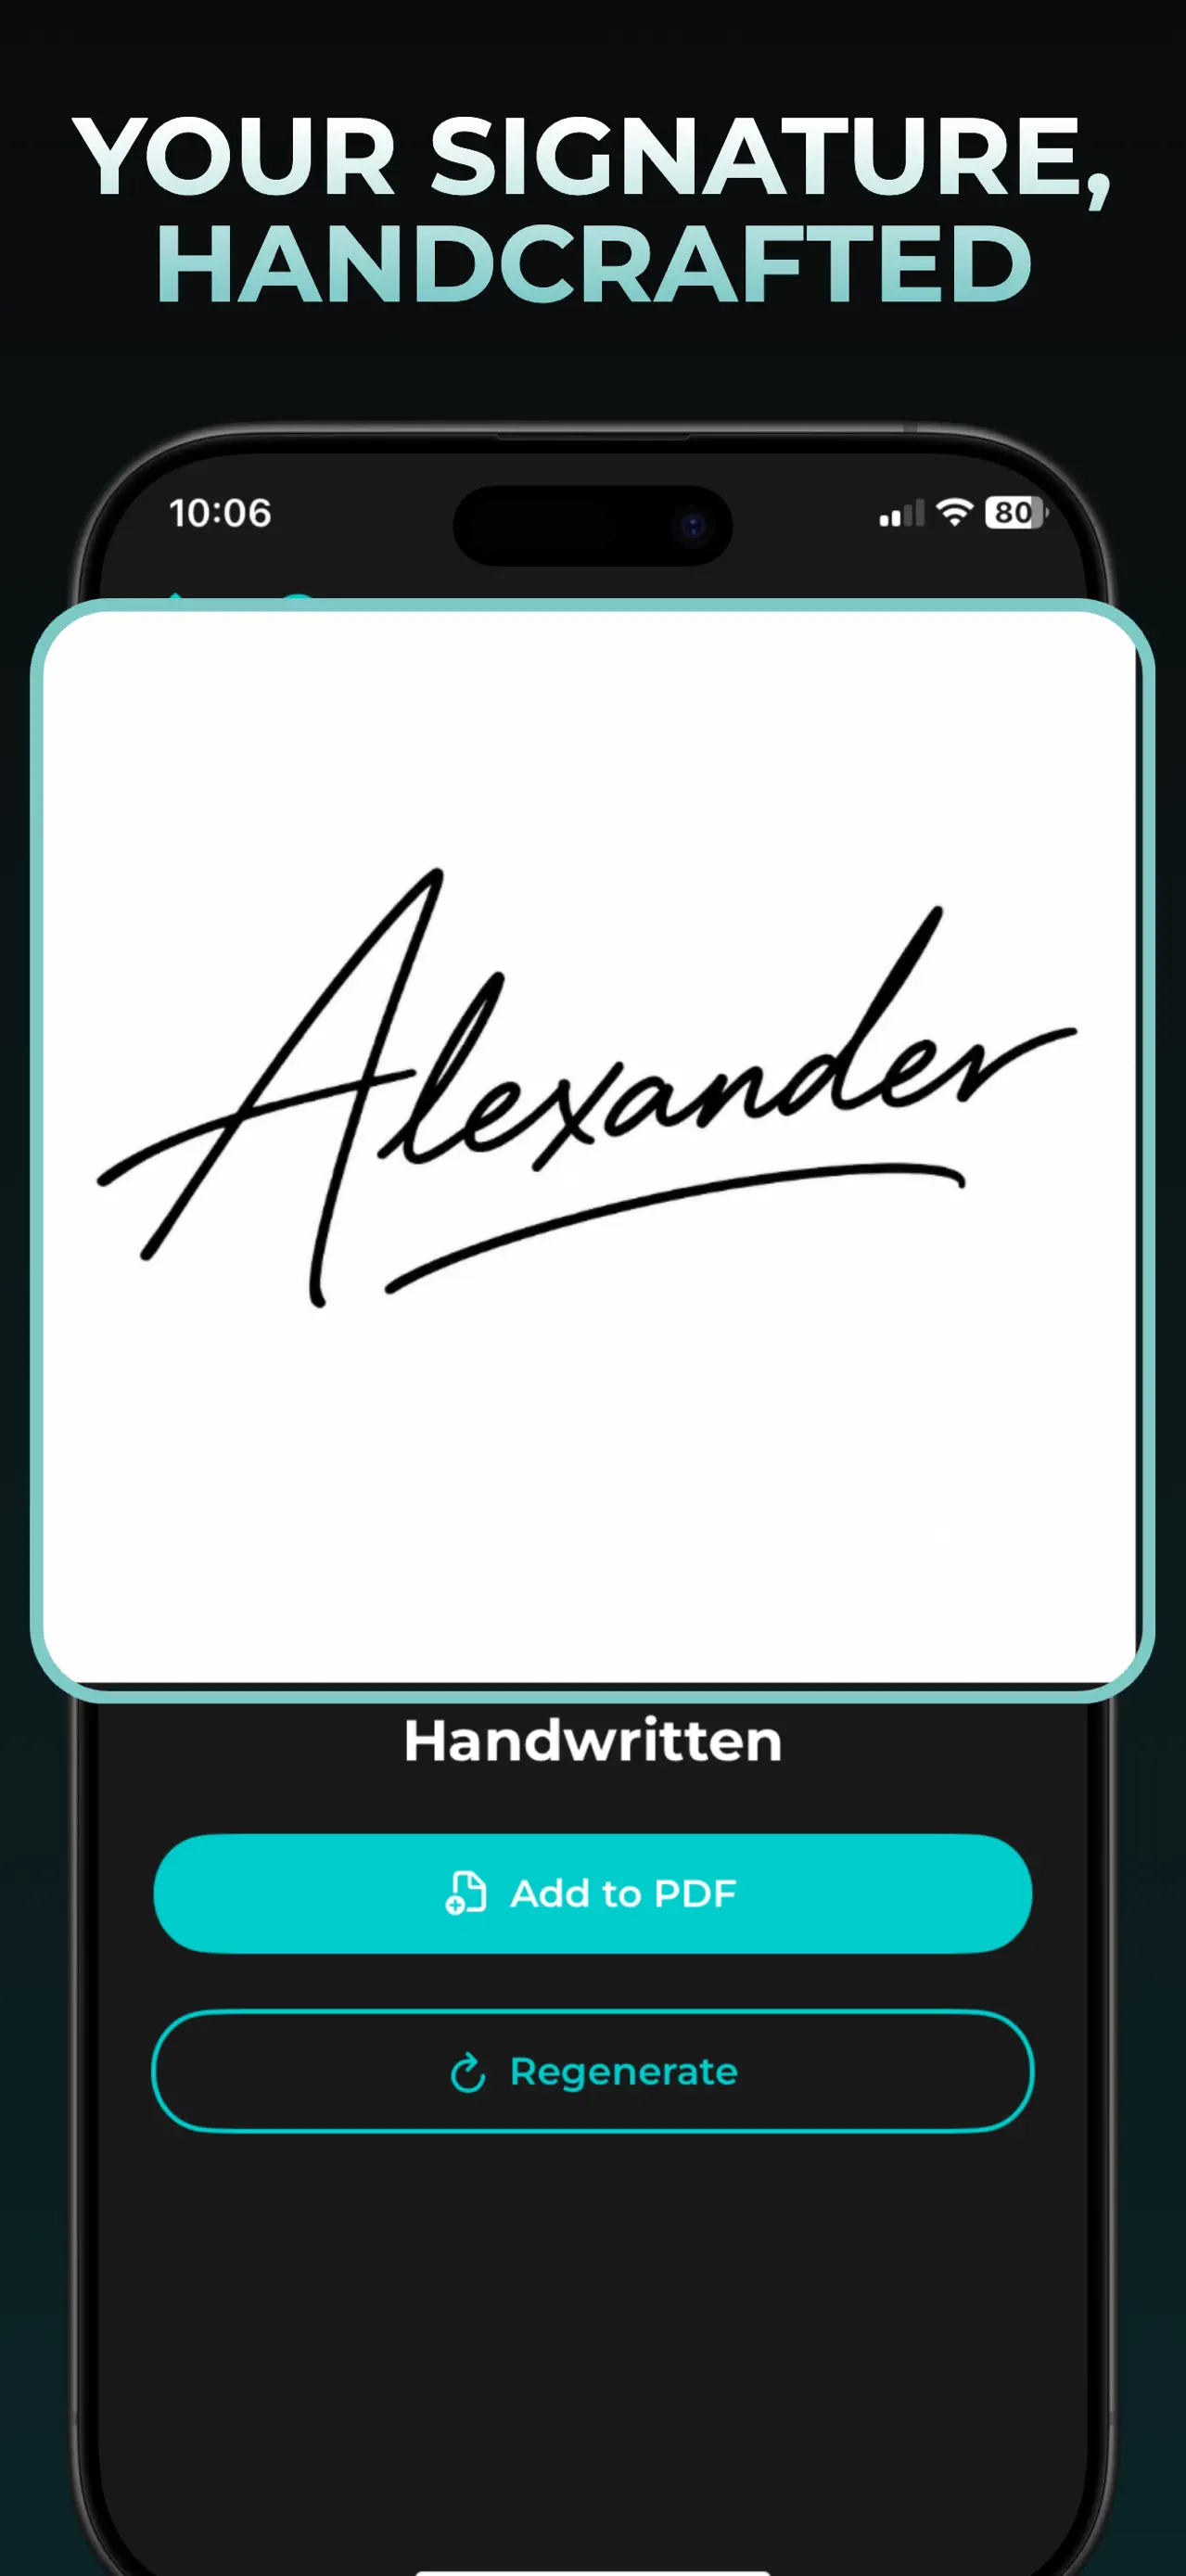
Tap Add to PDF and choose your file
On the signature result screen, tap Add to PDF. Select the document from Files. If the subscription screen appears, PDF signing requires Pro.
Keep the original PDF as a separate copy. Check that you selected the correct document and that every page you need is present.
Step 3
Position and resize your signature
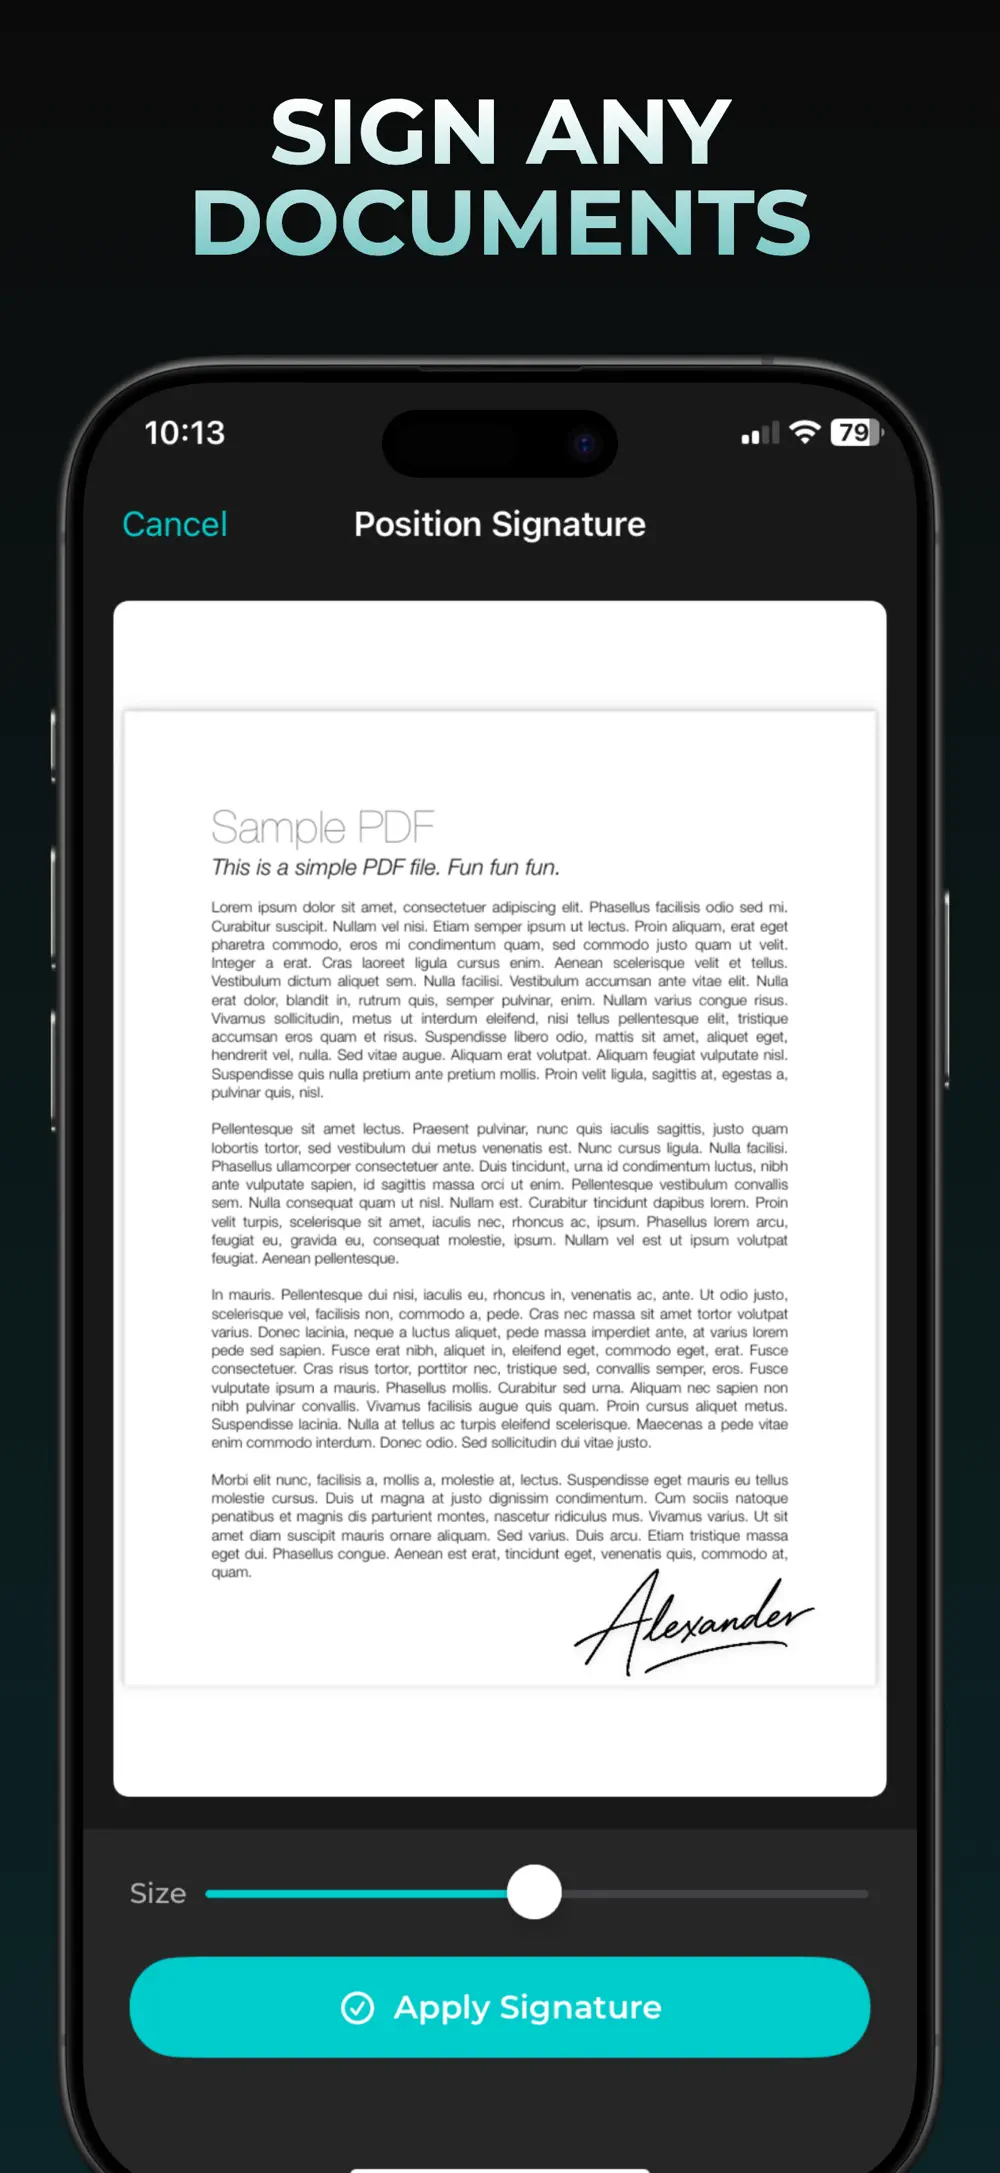
In Position Signature, use the page controls to reach the signing page. Drag the signature onto the intended line, then adjust the Size slider.
Keep it clear of nearby text and date fields. Look at the whole page before applying: a signature that looks good in a large preview can be too small when placed on a document.
Apply the signature and save the PDF
Tap Apply Signature. When the share sheet opens, choose Save to Files to keep a copy, or choose the app you want to send it with. Wait for the export to finish before leaving the screen.
Open the exported PDF from Files and check the signature’s position. Send that exported copy to the recipient. Keeping the original gives you a starting point if you need to place the signature again.
If something does not work
The PDF is missing from the picker
Open the attachment or cloud file and save or download it to Files first. Then return to AutoSign and select the saved PDF.
A subscription screen appears
Add to PDF is a Pro feature. Free generation does not include PDF signing. Review the plan and billing terms shown in the app before subscribing.
The signature covers nearby text
Move it and reduce its size before tapping Apply Signature. Check the page controls if the intended signing line is on another page.
I cannot find the finished document
Applying the signature opens sharing options. Choose Save to Files and a folder you can find again; creating a signature in My Projects does not itself save a signed PDF to Files.
What is free and what requires Pro?
| Action | Access |
|---|---|
| Generate a signature | Limited free allowance; Pro expands access |
| Add a signature to a PDF | Pro |
| Save or share a signature image | Pro |
Can I sign a PDF without installing an app?
For a simple handwritten mark, iPhone’s built-in Markup tools can add a saved or newly drawn signature. See Apple’s instructions for filling forms and signing documents. AutoSign is useful when you want to generate and compare signature designs from your name before placing one.
What kind of signature does this create?
AutoSign adds a visual signature to a PDF. It does not verify the signer’s identity or create a signing certificate or audit trail. Check the recipient’s requirements before using a signature image for your document.
Screenshots are from AutoSign’s App Store listing. Controls may vary by app version.
View AutoSign on the App Store ↗